El servidor perfecto – Ubuntu 18.04 (Bionic Beaver) con Apache, PHP, MySQL, PureFTPD, BIND, Postfix, Dovecot e ISPConfig 3.1
16. Instalar Roundcube Webmail
Para instalar Roundcube Webmail, ejecuta:
apt-get -y install roundcube roundcube-core roundcube-mysql roundcube-plugins javascript-common libjs-jquery-mousewheel php-net-sieve tinymce
El instalador te hará las siguientes preguntas:
Configure database for roundcube with dbconfig-common? <-- Yes
MySQL application password for roundcube: <-- Press enter
A continuación, edita el archivo de configuración de RoundCube apache
nano /etc/apache2/conf-enabled/roundcube.conf
y elimina el # delante de la línea Alias, luego añade la segunda línea Alias para /webmail y añade la línea «AddType application/x-httpd-php .php» justo después de la línea «<Directory /var/lib/roundcube>»:
# Those aliases do not work properly with several hosts on your apache server
# Uncomment them to use it or adapt them to your configuration
Alias /roundcube /var/lib/roundcube
Alias /webmail /var/lib/roundcube
[...]
<Directory /var/lib/roundcube>
AddType application/x-httpd-php .php
[...]
Y reinicia apache
service apache2 restart
A continuación, edita el archivo de configuración RoundCube config.inc.php
nano /etc/roundcube/config.inc.php
y cambia el host por defecto a localhost:
$config['default_host'] = 'localhost';
Esto evita que Roundcube muestre el campo de entrada del nombre del servidor en el formulario de acceso.
17. Instalar ISPConfig 3.1
Para instalar ISPConfig 3 a partir de la última versión liberada, haz esto:
cd /tmp
wget -O ispconfig.tar.gz https://www.ispconfig.org/downloads/ISPConfig-3-stable.tar.gz
tar xfz ispconfig.tar.gz
cd ispconfig3*/install/
El siguiente paso es ejecutar
php -q install.php
Esto iniciará el instalador de ISPConfig 3. El instalador configurará todos los servicios como Postfix, Dovecot, etc. por ti.
# php -q install.php
--------------------------------------------------------------------------------
_____ ___________ _____ __ _ ____
|_ _/ ___| ___ \ / __ \ / _(_) /__ \
| | \ `--.| |_/ / | / \/ ___ _ __ | |_ _ __ _ _/ /
| | `--. \ __/ | | / _ \| '_ \| _| |/ _` | |_ |
_| |_/\__/ / | | \__/\ (_) | | | | | | | (_| | ___\ \
\___/\____/\_| \____/\___/|_| |_|_| |_|\__, | \____/
__/ |
|___/
--------------------------------------------------------------------------------
>> Initial configuration
Operating System: Ubuntu 18.04 (Bionic Beaver)
Following will be a few questions for primary configuration so be careful.
Default values are in [brackets] and can be accepted with <ENTER>.
Tap in "quit" (without the quotes) to stop the installer.
Select language (en,de) [en]: <-- Hit Enter
Installation mode (standard,expert) [standard]: <-- Hit Enter
Full qualified hostname (FQDN) of the server, eg server1.domain.tld [server1.canomi.com]: <-- Hit Enter
MySQL server hostname [localhost]: <-- Hit Enter
MySQL server port [3306]: <-- Hit Enter
MySQL root username [root]: <-- Hit Enter
MySQL root password []: <-- Enter your MySQL root password
MySQL database to create [dbispconfig]: <-- Hit Enter
MySQL charset [utf8]: <-- Hit Enter
Configuring Postgrey
Configuring Postfix
Generating a 4096 bit RSA private key
.......................................................................++
........................................................................................................................................++
writing new private key to 'smtpd.key'
-----
You are about to be asked to enter information that will be incorporated
into your certificate request.
What you are about to enter is what is called a Distinguished Name or a DN.
There are quite a few fields but you can leave some blank
For some fields there will be a default value,
If you enter '.', the field will be left blank.
-----
Country Name (2 letter code) [AU]: <-- Enter 2 letter country code
State or Province Name (full name) [Some-State]: <-- Enter the name of the  state
Locality Name (eg, city) []: <-- Enter your city
Organization Name (eg, company) [Internet Widgits Pty Ltd]: <-- Enter company name or press enter
Organizational Unit Name (eg, section) []: <-- Hit Enter
Common Name (e.g. server FQDN or YOUR name) []: <-- Enter the server hostname, in my case: server1.example.com
Email Address []: <-- Hit Enter
Configuring Mailman
Configuring Dovecot
Configuring Spamassassin
Configuring Amavisd
Configuring Getmail
Configuring BIND
Configuring Jailkit
Configuring Pureftpd
Configuring Apache
Configuring vlogger
Configuring Metronome XMPP Server
writing new private key to 'localhost.key'
-----
Country Name (2 letter code) [AU]: <-- Enter 2 letter country code
Locality Name (eg, city) []: <-- Enter your city
Organization Name (eg, company) [Internet Widgits Pty Ltd]: <-- Enter company name or press enter
Organizational Unit Name (eg, section) []: <-- Hit Enter
Common Name (e.g. server FQDN or YOUR name) [server1.canomi.com]: <-- Enter the server hostname, in my case: server1.example.com
Email Address []: <-- Hit Enter
Configuring Ubuntu Firewall
Configuring Fail2ban
[INFO] service OpenVZ not detected
Configuring Apps vhost
Installing ISPConfig
ISPConfig Port [8080]:
Admin password [admin]:
Do you want a secure (SSL) connection to the ISPConfig web interface (y,n) [y]: <-- Hit Enter
Generating RSA private key, 4096 bit long modulus
.......................++
................................................................................................................................++
e is 65537 (0x10001)
You are about to be asked to enter information that will be incorporated
into your certificate request.
What you are about to enter is what is called a Distinguished Name or a DN.
There are quite a few fields but you can leave some blank
For some fields there will be a default value,
If you enter '.', the field will be left blank.
-----
Country Name (2 letter code) [AU]: <-- Enter 2 letter country code
State or Province Name (full name) [Some-State]: <-- Enter the name of the  state
Locality Name (eg, city) []: <-- Enter your city
Organization Name (eg, company) [Internet Widgits Pty Ltd]: <-- Enter company name or press enter
Organizational Unit Name (eg, section) []: <-- Hit Enter
Common Name (e.g. server FQDN or YOUR name) []: <-- Enter the server hostname, in my case: server1.example.com
Email Address []: <-- Hit Enter
Please enter the following 'extra' attributes
to be sent with your certificate request
A challenge password []: <-- Hit Enter
An optional company name []: <-- Hit Enter
writing RSA key
Configuring DBServer
Installing ISPConfig crontab
no crontab for root
no crontab for getmail
Detect IP addresses
Restarting services ...
Installation completed.
El instalador configura automáticamente todos los servicios subyacentes, por lo que no es necesaria ninguna configuración manual.
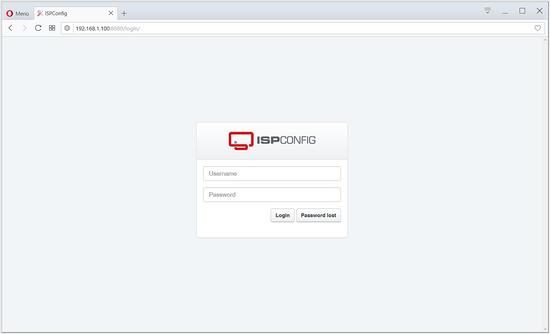
Después puedes acceder a ISPConfig 3 bajo http(s)://servidor1.ejemplo.com:8080/ o http(s)://192.168.0.100:8080/ (HTTP o HTTPS depende de lo que hayas elegido durante la instalación). Accede con el nombre de usuario admin y la contraseña admin (deberías cambiar la contraseña por defecto después de tu primer acceso):
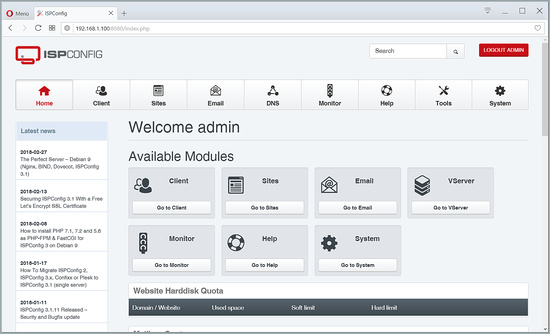
El sistema está ahora listo para ser utilizado.
18. Descarga de la imagen de la máquina virtual de este tutorial
Este tutorial está disponible como imagen de máquina virtual lista para usar en formato ovf/ova que es compatible con VMWare y Virtualbox. La imagen de la máquina virtual utiliza los siguientes datos de acceso:
Inicio de sesión SSH / Shell
Nombre de usuario: administrador
Contraseña: howtoforge
Este usuario tiene derechos sudo.
Inicio de sesión en ISPConfig
Nombre de usuario: admin
Contraseña: admin
Inicio de sesión en MySQL
Nombre de usuario: root
Contraseña: howtoforge
La IP de la máquina virtual es 192.168.0.100, se puede cambiar en el archivo /etc/netplan/01-netcfg.yaml. Por favor, cambia todas las contraseñas anteriores para asegurar la máquina virtual.
19. Enlaces
- Ubuntu: http://www.ubuntu.com/
- ISPConfig: http: //www.ispconfig.org/