Cómo instalar el acortador de URL autoalojado YOURLS en CentOS 8
YOURLS es un acortador de URL gratuito, de código abierto y autoalojado, escrito en PHP. Es muy similar a TinyURL o Bitly y te permite gestionar tu propio servicio de acortamiento de URL. También te permite añadir marcas a tus URLs cortas. Ofrece un rico conjunto de características, incluyendo, enlace privado y público, palabras clave de URL personalizadas, informes históricos de clics, interfaz Ajaxed, soporte Jsonp y muchos más.
En este tutorial, te mostraremos cómo instalar YOURLS en CentOS 8 con Let’s Encrypt SSL.
Requisitos previos
- Un servidor con CentOS 8.
- Un nombre de dominio válido apuntado con la IP de tu servidor.
- Una contraseña de root configurada el servidor.
Instalar el servidor LEMP
En primer lugar, necesitarás instalar Nginx, MariaDB, PHP y las extensiones PHP necesarias en tu servidor. Puedes instalarlos todos con el siguiente comando:
dnf install nginx mariadb-server php php-fpm php-json php-common php-mysqlnd php-zip php-gd php-mbstring php-curl php-xml php-pear php-bcmath git unzip wget -y
Una vez instalados todos los paquetes, edita el archivo de configuración de PHP-FPM /etc/php-fpm.d/www.conf y cambia el usuario de apache a nginx:
nano /etc/php-fpm.d/www.conf
Cambia las siguientes líneas:
user = nginx
group = nginx
Guarda y cierra el archivo y, a continuación, inicia el servicio Nginx, MariaDB y PHP-FPM y haz que se inicien al reiniciar el sistema con el siguiente comando:
systemctl start nginx
systemctl enable nginx
systemctl start mariadb
systemctl enable mariadb
systemctl start php-fpm
systemctl enable php-fpm
Una vez que hayas terminado, puedes pasar al siguiente paso.
Crear una base de datos para YOURLS
A continuación, tendrás que crear una base de datos y un usuario para YOURLS. En primer lugar, inicia sesión en MariaDB con el siguiente comando:
mysql
Una vez iniciada la sesión, crea una base de datos y un usuario con el siguiente comando:
MariaDB [(none)]> CREATE DATABASE yourlsdb;
MariaDB [(none)]> GRANT ALL PRIVILEGES ON yourlsdb.* TO 'yourlsuser'@'localhost' IDENTIFIED BY 'password';
A continuación, vacía los privilegios y sal del MariaDB con el siguiente comando:
MariaDB [(none)]> FLUSH PRIVILEGES;
MariaDB [(none)]> \q
En este punto, MariaDB está instalado y configurado.
Instalar YOURLS
Primero, cambia el directorio a la raíz web de Nginx y descarga la última versión de YOURLS con el siguiente comando
cd /var/www/html
git clone https://github.com/YOURLS/YOURLS.git
A continuación, cambia el nombre del archivo config de ejemplo con el siguiente comando
cd YOURLS/user/
cp config-sample.php config.php
A continuación, edita el archivo config.php y define la configuración de tu base de datos:
nano config.php
Cambia las siguientes líneas:
/** MySQL database username */
define( 'YOURLS_DB_USER', 'yourlsuser' );

/** MySQL database password */
define( 'YOURLS_DB_PASS', 'password' );

/** The name of the database for YOURLS
 ** Use lower case letters [a-z], digits [0-9] and underscores [_] only */
define( 'YOURLS_DB_NAME', 'yourlsdb' );

/** MySQL hostname.
 ** If using a non standard port, specify it like 'hostname:port', eg. 'localhost:9999' or '127.0.0.1:666' */
define( 'YOURLS_DB_HOST', 'localhost' );

/** MySQL tables prefix
 ** YOURLS will create tables using this prefix (eg `yourls_url`, `yourls_options`, ...)
 ** Use lower case letters [a-z], digits [0-9] and underscores [_] only */
define( 'YOURLS_DB_PREFIX', 'yourls_' );

define( 'YOURLS_SITE', 'http://yourls.example.com' );
$yourls_user_passwords = array(
        'admin' => 'yourpassword',
Guarda y cierra el archivo cuando hayas terminado. A continuación, crea un archivo .htaccess con el siguiente comando
nano /var/www/html/YOURLS/.htaccess
Añade las siguientes líneas:
<IfModule mod_rewrite.c>
RewriteEngine On
RewriteBase /
RewriteCond %{REQUEST_FILENAME} !-f
RewriteCond %{REQUEST_FILENAME} !-d
RewriteRule ^.*$ /yourls-loader.php [L]
</IfModule>
Guarda y cierra el archivo y luego da los permisos y la propiedad adecuados con el siguiente comando:
chown -R nginx:nginx /var/www/html/YOURLS
chmod -R 775 /var/www/html/YOURLS
Una vez que hayas terminado, puedes pasar al siguiente paso.
Configurar Nginx para YOURLS
A continuación, crea un nuevo archivo de configuración del host virtual Nginx para TULS:
nano /etc/nginx/conf.d/yourls.conf
Añade las siguientes líneas:
server {
  listen 80;
  server_name yourls.example.com;
  root /var/www/html/YOURLS;
  index index.php index.html index.htm;
  location / {
    try_files $uri $uri/ /yourls-loader.php$is_args$args;
  }

  location ~ \.php$ {
    include fastcgi.conf;

    fastcgi_index index.php;
    fastcgi_pass unix:/run/php-fpm/www.sock;
  }
}
Guarda y cierra el archivo y luego reinicia el servicio Nginx y PHP-FPM con el siguiente comando:
systemctl restart nginx
systemctl restart php-fpm
También puedes verificar el estado de Nginx con el siguiente comando:
systemctl status nginx
Deberías obtener la siguiente salida:
? nginx.service - The nginx HTTP and reverse proxy server
   Loaded: loaded (/usr/lib/systemd/system/nginx.service; disabled; vendor preset: disabled)
  Drop-In: /usr/lib/systemd/system/nginx.service.d
           ??php-fpm.conf
   Active: active (running) since Tue 2020-10-20 09:37:40 EDT; 5min ago
  Process: 12864 ExecStart=/usr/sbin/nginx (code=exited, status=0/SUCCESS)
  Process: 12862 ExecStartPre=/usr/sbin/nginx -t (code=exited, status=0/SUCCESS)
  Process: 12860 ExecStartPre=/usr/bin/rm -f /run/nginx.pid (code=exited, status=0/SUCCESS)
 Main PID: 12871 (nginx)
    Tasks: 3 (limit: 12523)
   Memory: 5.5M
   CGroup: /system.slice/nginx.service
           ??12871 nginx: master process /usr/sbin/nginx
           ??12872 nginx: worker process
           ??12873 nginx: worker process

Oct 20 09:37:40 centos systemd[1]: Stopped The nginx HTTP and reverse proxy server.
Oct 20 09:37:40 centos systemd[1]: Starting The nginx HTTP and reverse proxy server...
Oct 20 09:37:40 centos nginx[12862]: nginx: the configuration file /etc/nginx/nginx.conf syntax is ok
Oct 20 09:37:40 centos nginx[12862]: nginx: configuration file /etc/nginx/nginx.conf test is successful
Oct 20 09:37:40 centos systemd[1]: Started The nginx HTTP and reverse proxy server.
Configurar SELinux y Firewall
Por defecto, SELinux está activado en CentOS 8. Así que tendrás que configurarlo para tu sitio web YOURLS.
Puedes configurar el SELinux con el siguiente comando:
setsebool httpd_can_network_connect on -P
chcon -R -u system_u -t httpd_sys_rw_content_t -r object_r /var/www/html/YOURLS
A continuación, permite los puertos 80 y 443 a través del cortafuegos con el siguiente comando:
firewall-cmd --permanent --add-service=http
firewall-cmd --permanent --add-service=https
firewall-cmd --reload
Una vez que hayas terminado, puedes pasar al siguiente paso.
Accede a YOURLS
Ahora, abre tu navegador web y accede a YOURLS utilizando la URL http://yourls.example.com/admin. Deberías ver la siguiente página:
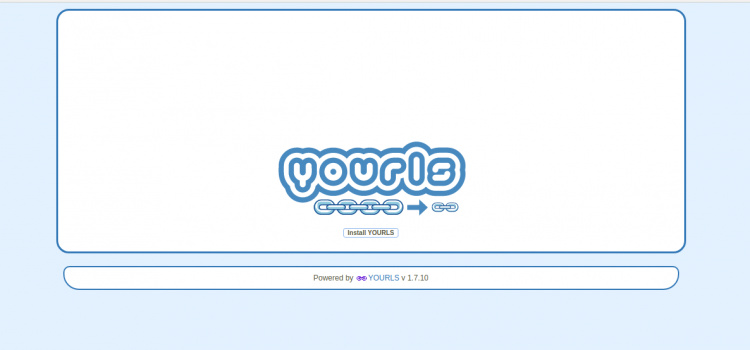
Haz clic en el botón Instalar TSU. Deberías ver la siguiente página:
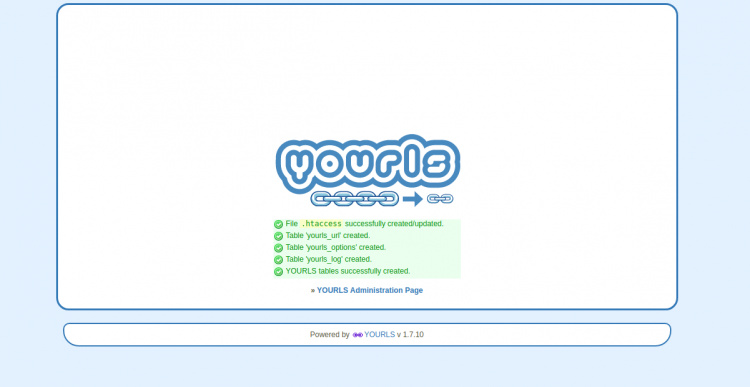
Haz clic en la «Página de administración de TSU». Deberías ver la página de inicio de sesión de YOURLS:
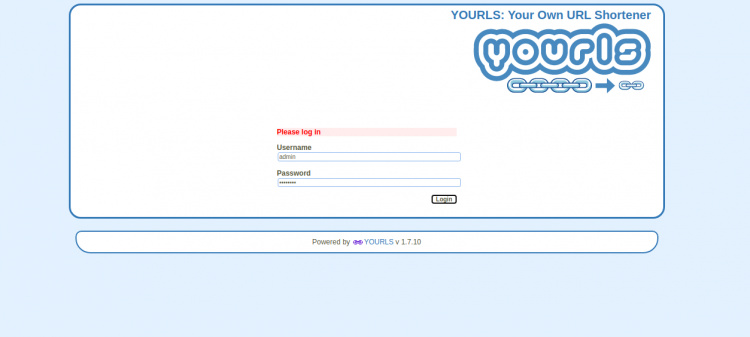
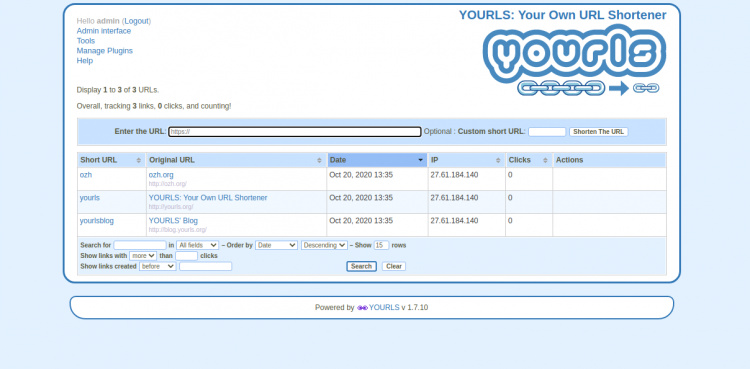
Proporciona tu nombre de usuario y contraseña de administrador que has definido en el config.php y luego haz clic en el botón Iniciar sesión. Deberías ver el tablero de YOURLS en la siguiente página:
Asegura YOURLS con Let’s Encrypt SSL
A continuación, tendrás que instalar la utilidad Certbot en tu sistema para descargar e instalar Let’s Encrypt SSL para tu sitio web YOURLS.
Puedes instalar el cliente Certbot con el siguiente comando:
wget https://dl.eff.org/certbot-auto
mv certbot-auto /usr/local/bin/certbot-auto
chown root /usr/local/bin/certbot-auto
chmod 0755 /usr/local/bin/certbot-auto
A continuación, obtén e instala un certificado SSL para tu sitio web YOURLS con el siguiente comando:
certbot-auto --nginx -d yourls.example.com
El comando anterior instalará primero todas las dependencias necesarias en tu servidor. Una vez instalado, se te pedirá que proporciones una dirección de correo electrónico y que aceptes las condiciones del servicio, como se muestra a continuación:
Saving debug log to /var/log/letsencrypt/letsencrypt.log
Plugins selected: Authenticator nginx, Installer nginx
Enter email address (used for urgent renewal and security notices) (Enter 'c' to

cancel): [email protected]

- - - - - - - - - - - - - - - - - - - - - - - - - - - - - - - - - - - - - - - -
Please read the Terms of Service at
https://letsencrypt.org/documents/LE-SA-v1.2-November-15-2017.pdf. You must
agree in order to register with the ACME server at
https://acme-v02.api.letsencrypt.org/directory
- - - - - - - - - - - - - - - - - - - - - - - - - - - - - - - - - - - - - - - -
(A)gree/(C)ancel: A

- - - - - - - - - - - - - - - - - - - - - - - - - - - - - - - - - - - - - - - -
Would you be willing to share your email address with the Electronic Frontier
Foundation, a founding partner of the Let's Encrypt project and the non-profit
organization that develops Certbot? We'd like to send you email about our work
encrypting the web, EFF news, campaigns, and ways to support digital freedom.
- - - - - - - - - - - - - - - - - - - - - - - - - - - - - - - - - - - - - - - -
(Y)es/(N)o: Y

Obtaining a new certificate
Performing the following challenges:
http-01 challenge for yourls.example.com
Waiting for verification...
Cleaning up challenges
Deploying Certificate to VirtualHost /etc/nginx/conf.d/yourls.conf
Selecciona si quieres redirigir el tráfico HTTP a HTTPS o no, como se muestra a continuación:
Please choose whether or not to redirect HTTP traffic to HTTPS, removing HTTP access.
- - - - - - - - - - - - - - - - - - - - - - - - - - - - - - - - - - - - - - - -
1: No redirect - Make no further changes to the webserver configuration.
2: Redirect - Make all requests redirect to secure HTTPS access. Choose this for

new sites, or if you're confident your site works on HTTPS. You can undo this
change by editing your web server's configuration.
- - - - - - - - - - - - - - - - - - - - - - - - - - - - - - - - - - - - - - - -
Select the appropriate number [1-2] then [enter] (press 'c' to cancel): 2
Escribe 2 y pulsa Intro para continuar. Una vez que la instalación se haya completado con éxito, deberías obtener el siguiente resultado:
Redirecting all traffic on port 80 to ssl in /etc/nginx/conf.d/yourls.conf

- - - - - - - - - - - - - - - - - - - - - - - - - - - - - - - - - - - - - - - -
Congratulations! You have successfully enabled https://yourls.example.com

You should test your configuration at:
https://www.ssllabs.com/ssltest/analyze.html?d=yourls.example.com
- - - - - - - - - - - - - - - - - - - - - - - - - - - - - - - - - - - - - - - -

IMPORTANT NOTES:
 - Congratulations! Your certificate and chain have been saved at:
   /etc/letsencrypt/live/yourls.example.com/fullchain.pem
   Your key file has been saved at:
   /etc/letsencrypt/live/yourls.example.com/privkey.pem
   Your cert will expire on 2020-06-11. To obtain a new or tweaked
   version of this certificate in the future, simply run certbot-auto
   again with the "certonly" option. To non-interactively renew *all*
   of your certificates, run "certbot-auto renew"
 - If you like Certbot, please consider supporting our work by:

   Donating to ISRG / Let's Encrypt:   https://letsencrypt.org/donate
   Donating to EFF:                    https://eff.org/donate-le
Ahora puedes acceder al sitio web YOURLS de forma segura utilizando la URL https://yourls.example.com.
Enhorabuena! has instalado con éxito YOURLS con Nginx y Let’s Encrypt SSL en CentOS 8.